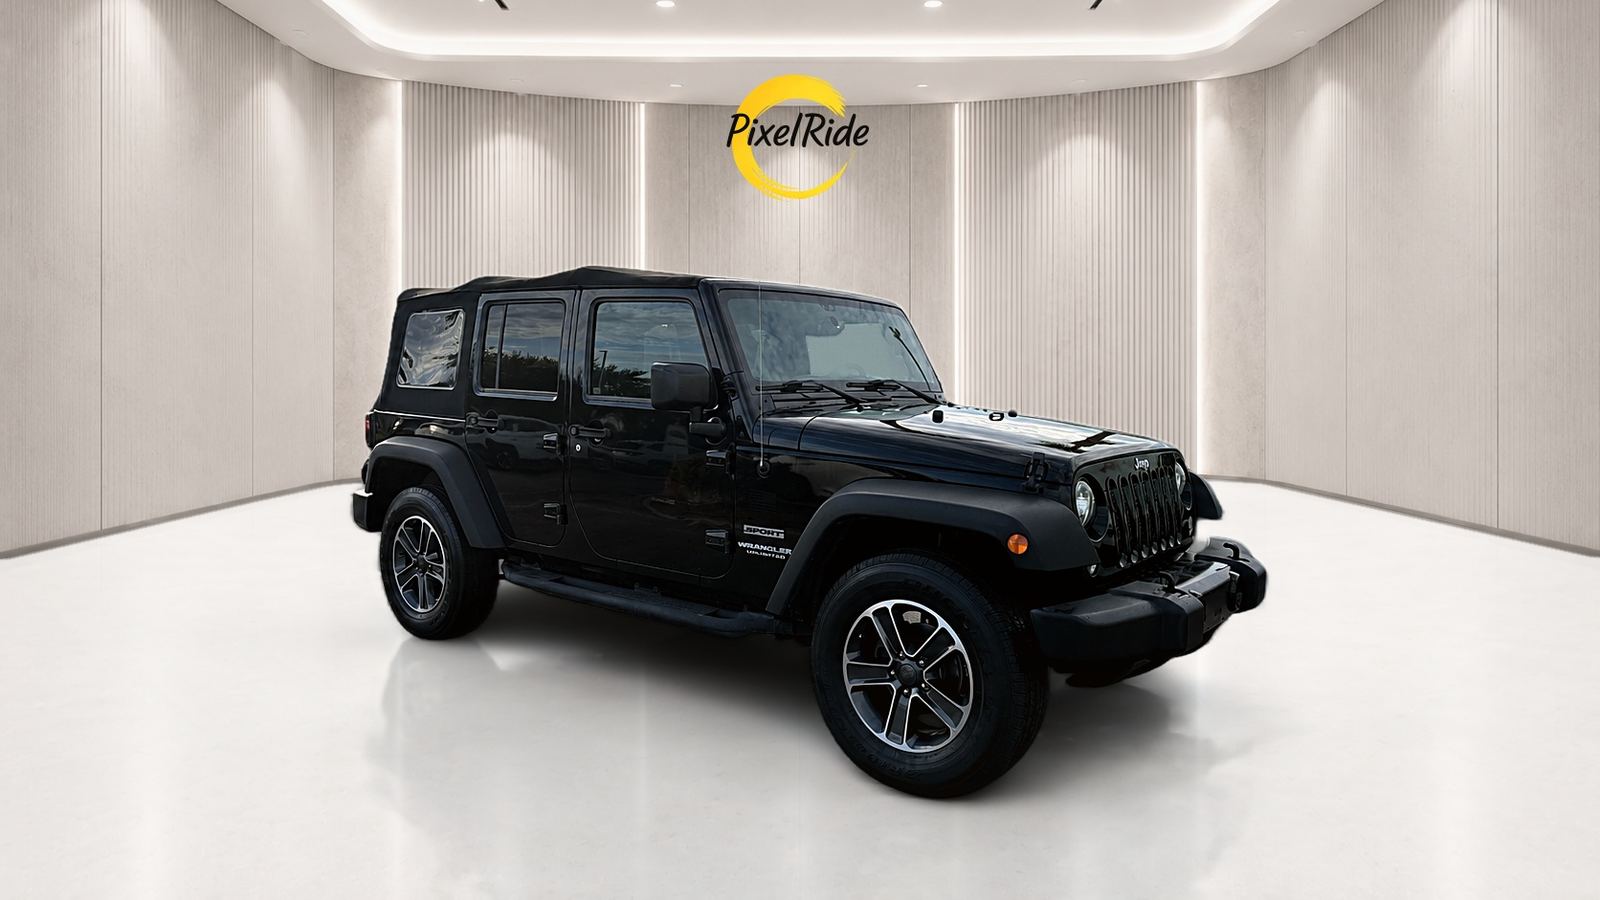
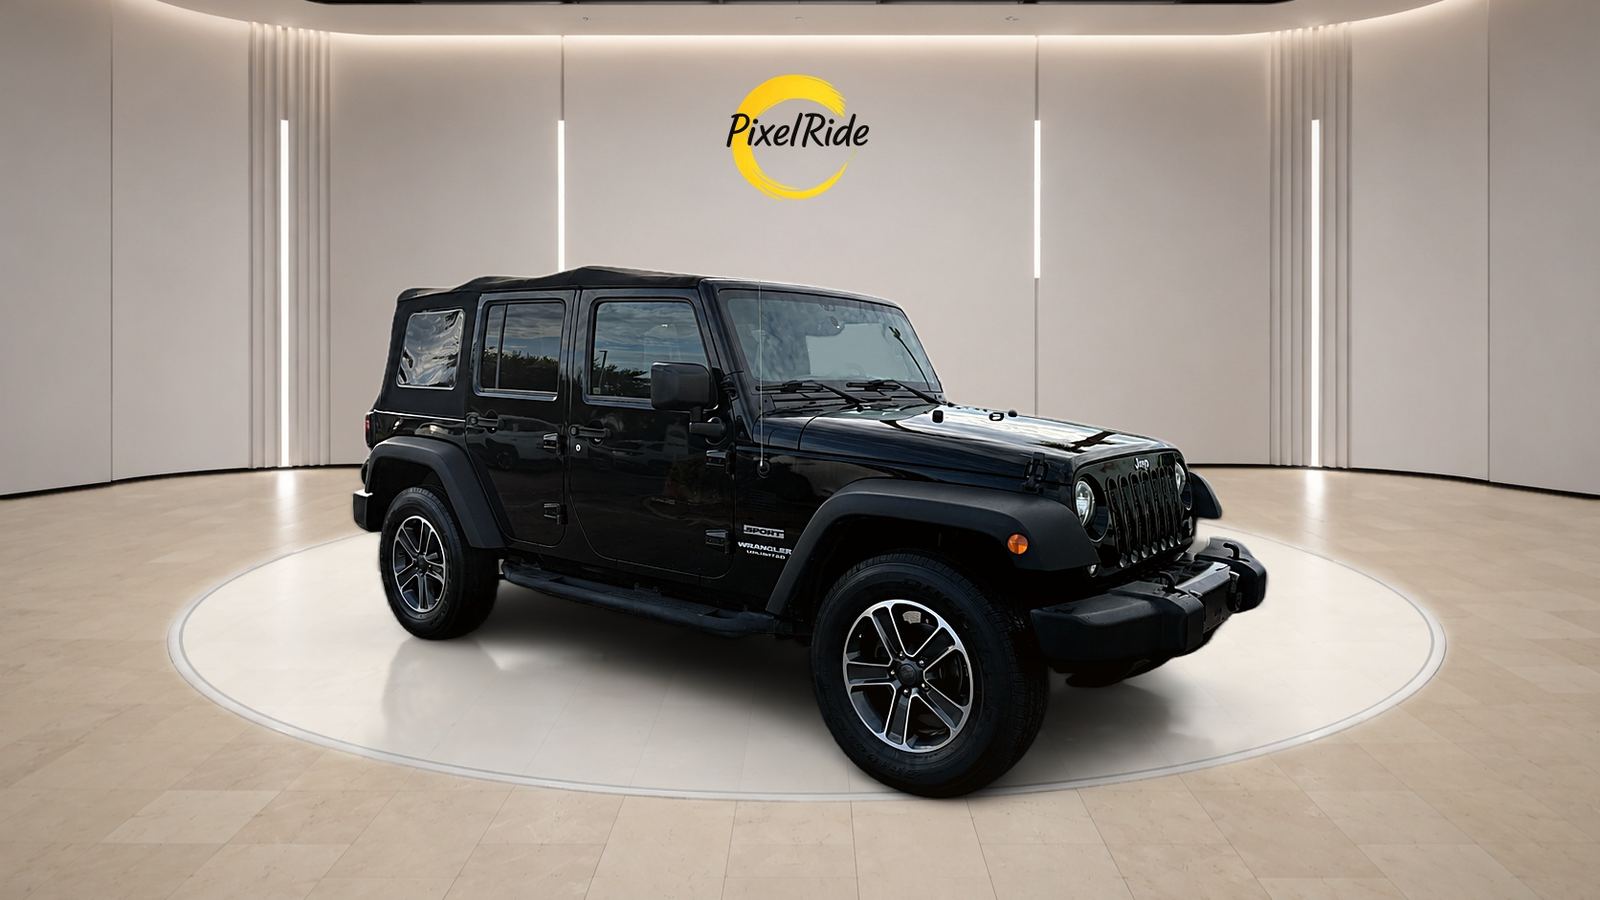
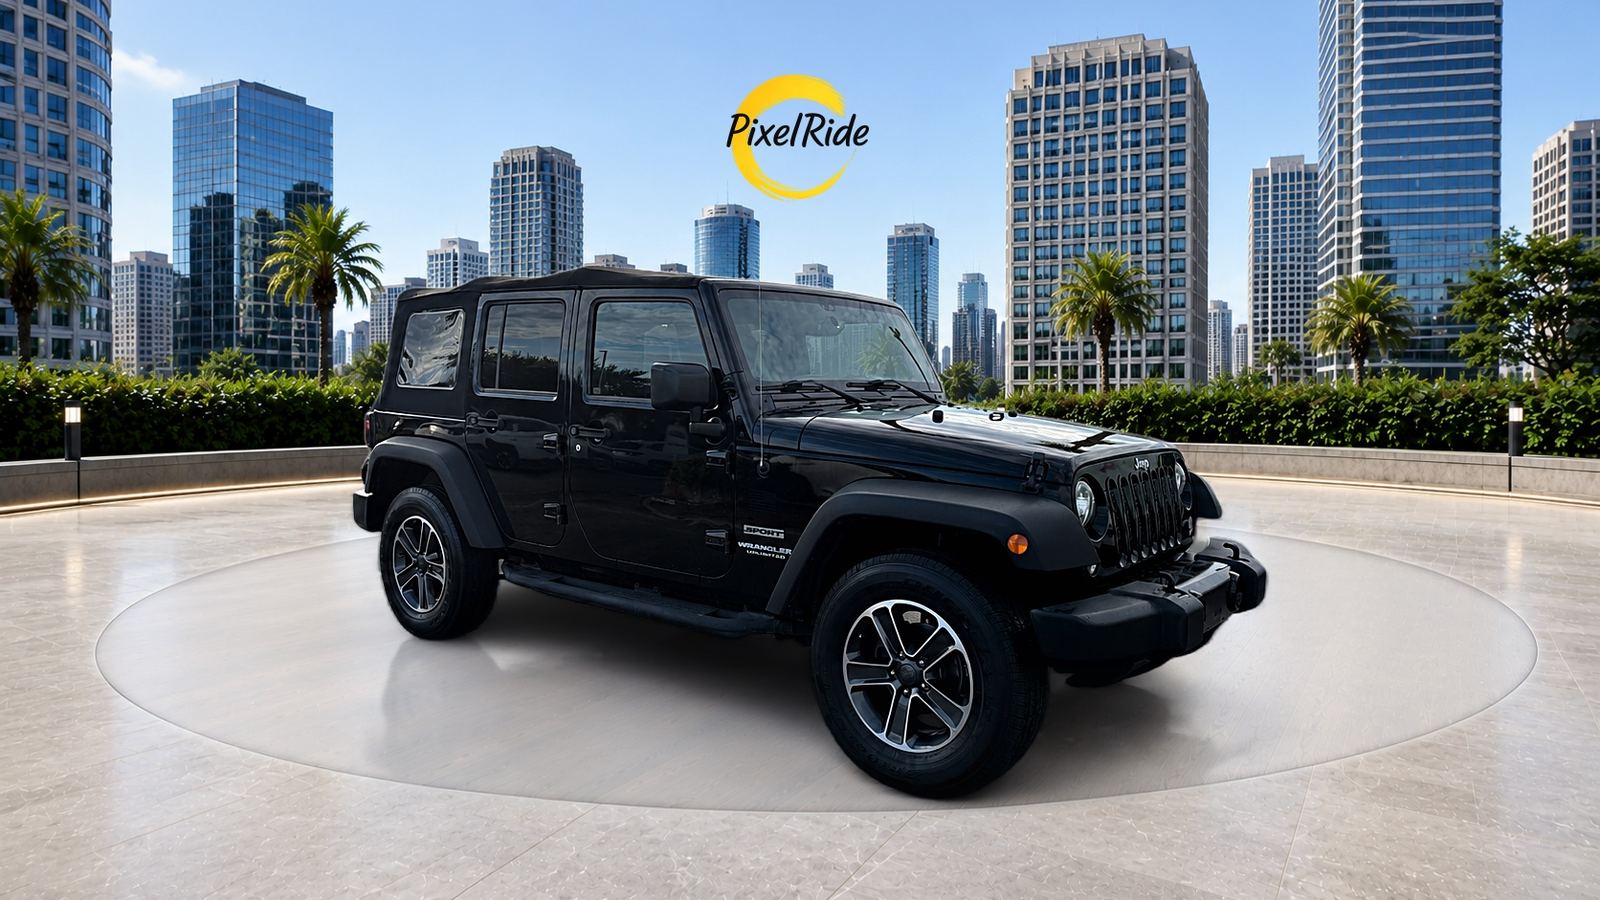
Car Background Removal for Dealerships: How to Get Consistent Inventory Photos
A practical workflow for replacing car photo backgrounds across dealership inventory: how to shoot, choose a standard, check quality and avoid misleading edits.
PixelRide · Nov 18, 2026 · 4 min read
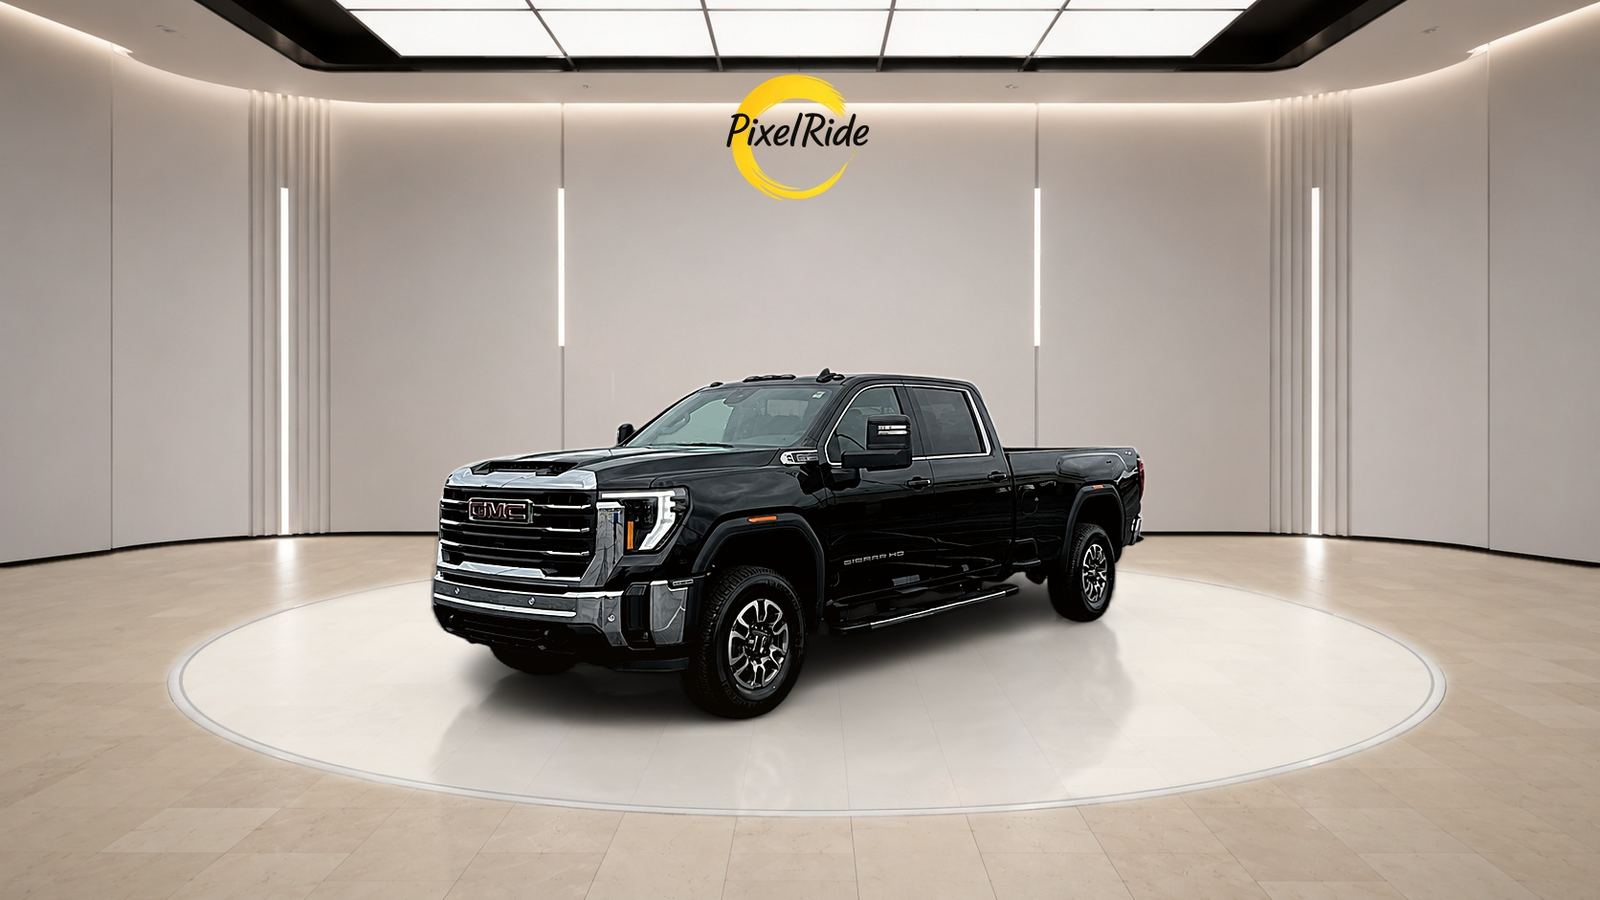
A buyer scrolling through your inventory compares cars in seconds. If one vehicle sits in front of a dumpster, the next in harsh sun, and the next against a crowded fence, your listings look less organized than the cars deserve.
Car background removal solves part of that problem: you keep the real vehicle and replace the distracting surroundings with one clean, repeatable setting. Done well, it gives a dealership a consistent look without building a photo booth. Done badly, it leaves floating cars, jagged edges and images buyers do not trust.
This guide covers a workflow your team can use on every vehicle.
What good background removal has to get right
Cutting out a car is harder than cutting out a product on a table. Before you judge any tool or process, check these details at full size:
- Edges: mirrors, antennas, roof rails and wheel arches should look clean.
- Glass: the old background should not remain visible through windows.
- Ground contact: tires need believable contact and a natural shadow, or the car appears to float.
- Reflections: old surroundings can remain in paint and chrome, so look closely at doors and bumpers.
- Scale and position: the car should sit naturally in the frame, at a similar size from one vehicle to the next.
A six-step dealership workflow
1. Shoot for the edit
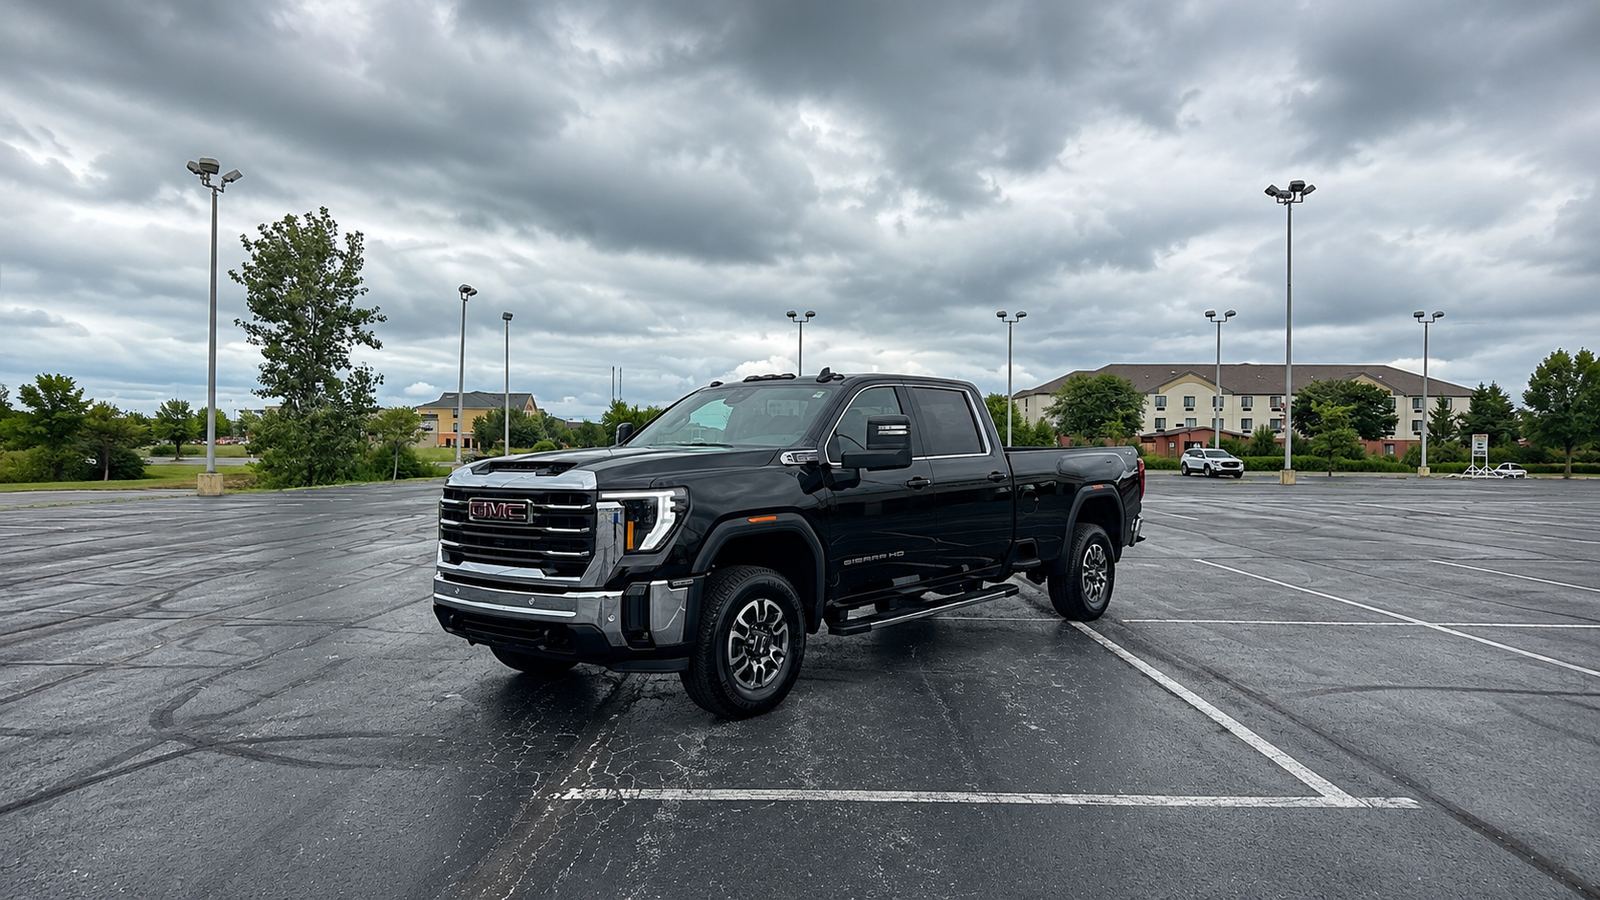
Better source photos produce better results. Move the car away from walls and other vehicles when you can, keep the whole vehicle in frame, and leave space around it. Shoot from a consistent height, turn the wheels the same way, and avoid strong shadows falling across the bodywork.
A modern phone is enough for many listings if the image is sharp and correctly exposed. Clean the vehicle first: software should improve the setting, not hide neglected preparation.
2. Choose one background standard
Pick the background before the first car goes through. Changing it from week to week brings back the inconsistency you are trying to remove.
| Background | Good fit | Watch out for |
|---|---|---|
| Neutral studio | Most inventory and marketplace galleries | Can feel plain without good lighting and floor detail |
| Branded showroom | Stores building a recognizable look | Logos and signs should not compete with the vehicle |
| Outdoor scene | Campaigns and selected hero images | Can look artificial if light and perspective do not match |
3. Process vehicles in complete sets
Edit all exterior angles for one vehicle together. Compare them side by side rather than approving one image at a time. A car that changes floor height or color between angles looks edited, even when each individual photo seems acceptable.
4. Add branding carefully
A small logo or a consistent frame can help your photos stand out, but keep it away from the vehicle and from important details. If you cover license plates, use the same treatment across the set.
5. Prepare the right file sizes
Marketplaces, your website and social channels often need different dimensions. Export a high-quality master, then create the required versions from it. The free car photo resizer can resize a full set in the browser, and the location remover can strip GPS data from photos before they are shared.
6. Check before publishing
Give one person responsibility for a quick final review:
- Is this the correct vehicle, trim and color?
- Are all edges clean at full size?
- Do the tires sit naturally on the floor?
- Has any scratch, dent or other condition detail been hidden?
- Does the set match the rest of your inventory?
Keep every edit honest
The purpose of a clean background is to remove distractions from the sale, not information from the buyer. Do not use editing to remove damage, alter options or change the apparent condition of a vehicle. Marketplace rules and advertising requirements differ, so confirm what applies where you sell, especially for used cars.
A good test is simple: when the customer sees the car in person, it should match the listing. That protects trust and saves your sales team from difficult conversations.
Common mistakes
- Mixing backgrounds on one vehicle. Keep the whole exterior set in one environment.
- Skipping the shadow check. A missing or mismatched shadow is often the first thing people notice.
- Cropping too tightly. Leave enough room for each marketplace's image frame.
- Over-enhancing color. Paint should still look like the real car.
- Treating interiors like exteriors. Fix what is visible through the glass, and keep the cabin accurate.
- Publishing without review. Automation saves time, but a person should still approve what buyers see.
How to do this with PixelRide
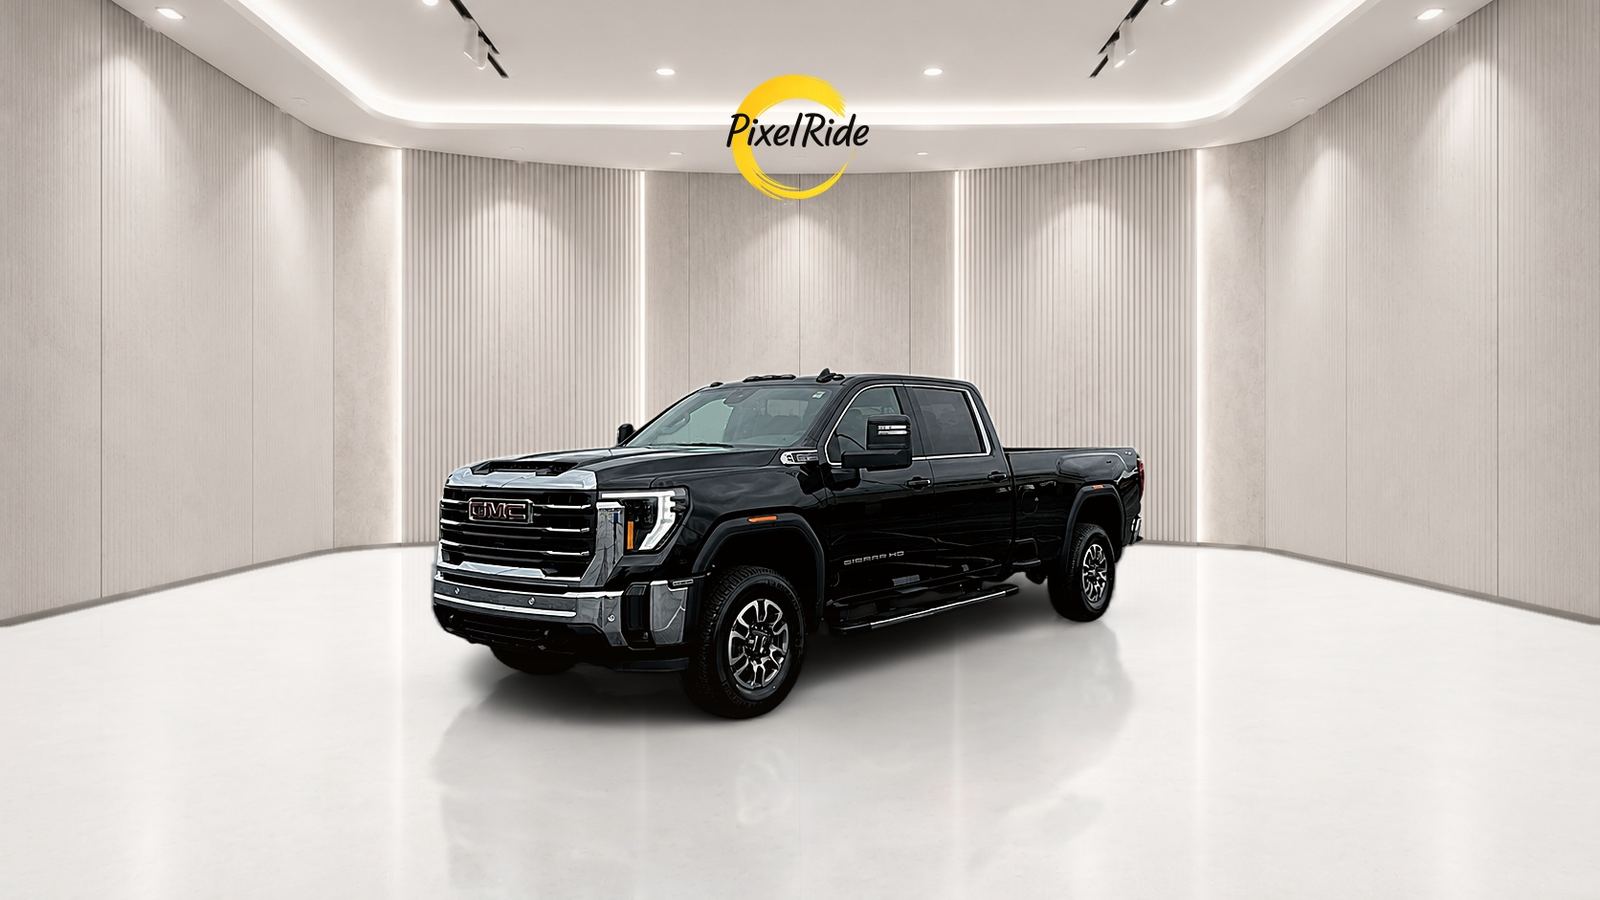
PixelRide is built for this inventory workflow. Upload the photos for a vehicle, choose a background, and review the results in the web editor. You can use a virtual studio look across your stock, keep branding consistent and handle license plates as part of the same process.
If you want to test it on your own vehicles, start with 25 free credits. No card is needed.