How to Compress Car Photos Without Losing Visible Quality
Reduce car photo file sizes for listings and websites while keeping paint, badges and wheels sharp. Learn the right format, quality and target size.
PixelRide · Nov 18, 2026 · 2 min read
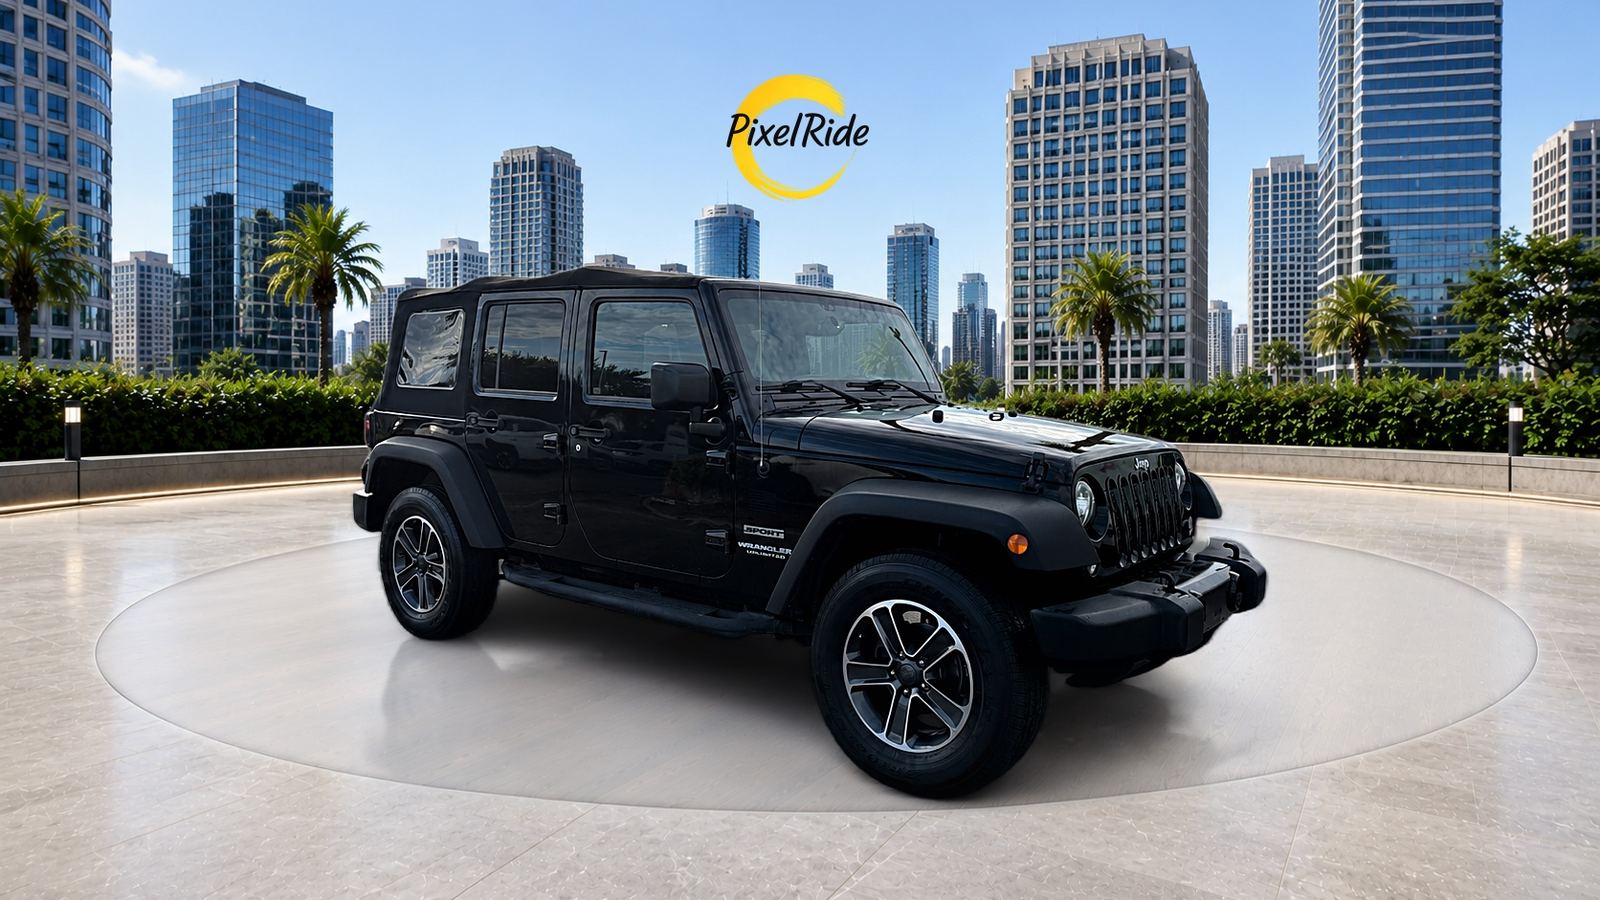
Compressing a car photo is a balancing act. The file needs to be small enough to upload and load quickly, while paint, badges, wheels and interior details still look clean. In practice, “without losing quality” means without losing quality buyers can see.
Most JPG and WebP compression removes some image data. The goal is to stop before that loss becomes noticeable.
Reduce dimensions before reducing quality
File size depends heavily on pixel dimensions. If a phone photo is much larger than the place it will appear, resizing it usually saves more space than pushing the quality setting too low.
A simple order works well:
- Start with the original photo.
- Resize it for the destination.
- Choose the file format.
- Compress it to the target size.
- Zoom in and check the details.
If you are unsure about dimensions, start with our guide to the best image size for car listings.
Which format should you choose?
| Format | Best use | What to remember |
|---|---|---|
| JPG | Marketplaces, dealer systems and general sharing | Widely accepted and good for photos |
| WebP | Your own website when supported | Often smaller at similar visual quality |
| PNG | Logos and graphics | Usually too large for full car photos |
If you have iPhone HEIC files, convert them before uploading to systems that do not accept HEIC. This guide explains how to fix HEIC photos that will not upload.
How to compress car photos online
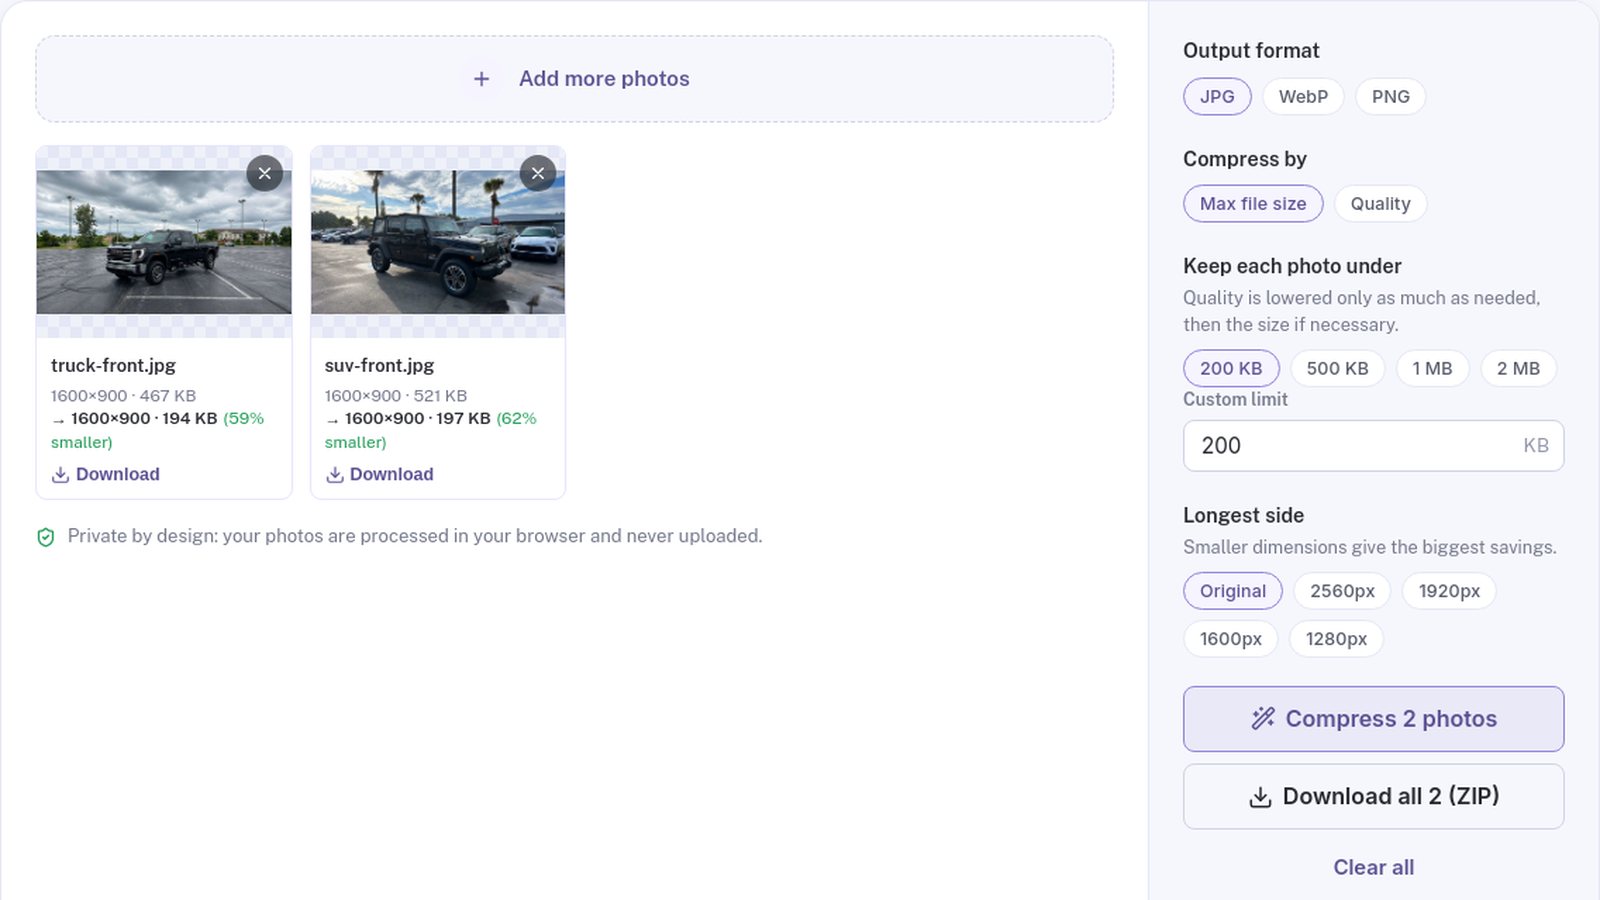
- Add your photos to the free image compressor.
- Choose JPG unless you have a clear reason to use another format.
- Select Max file size when a site has an upload limit, or Quality when you want direct control.
- Set a longest side if the originals are larger than you need.
- Compare the result, then download one photo or the full ZIP.
The target-size option lowers quality only as far as needed and reduces dimensions if the limit is still not reached. The tool works in your browser, so your photos are not uploaded.
What to inspect after compression
Open the image at 100% and check the areas where compression shows first:
- Paint and sky: look for bands instead of smooth gradients.
- Badges and text: edges should stay readable.
- Wheels and grilles: fine lines should not smear together.
- Dark interiors: shadows should not turn blocky.
- Headlights and chrome: bright edges should not gain obvious halos.
If you can see these problems at normal listing size, raise the quality or allow a larger file.
Avoid repeated compression
Do not keep editing the same compressed JPG. Each new save can add more loss. Keep the original, and create a fresh compressed copy whenever you need a different size.
Also remember that smaller files do not make a weak photo stronger. Clean the vehicle, shoot in even light and choose an uncluttered background first. If the background is the problem, the PixelRide editor can replace it with a consistent studio look.