How to Watermark Car Photos With Your Dealership Logo
Add a dealership logo or sold sticker to car photos without hiding the vehicle. Learn placement, size, opacity and how to keep a full set consistent.
PixelRide · Nov 18, 2026 · 3 min read
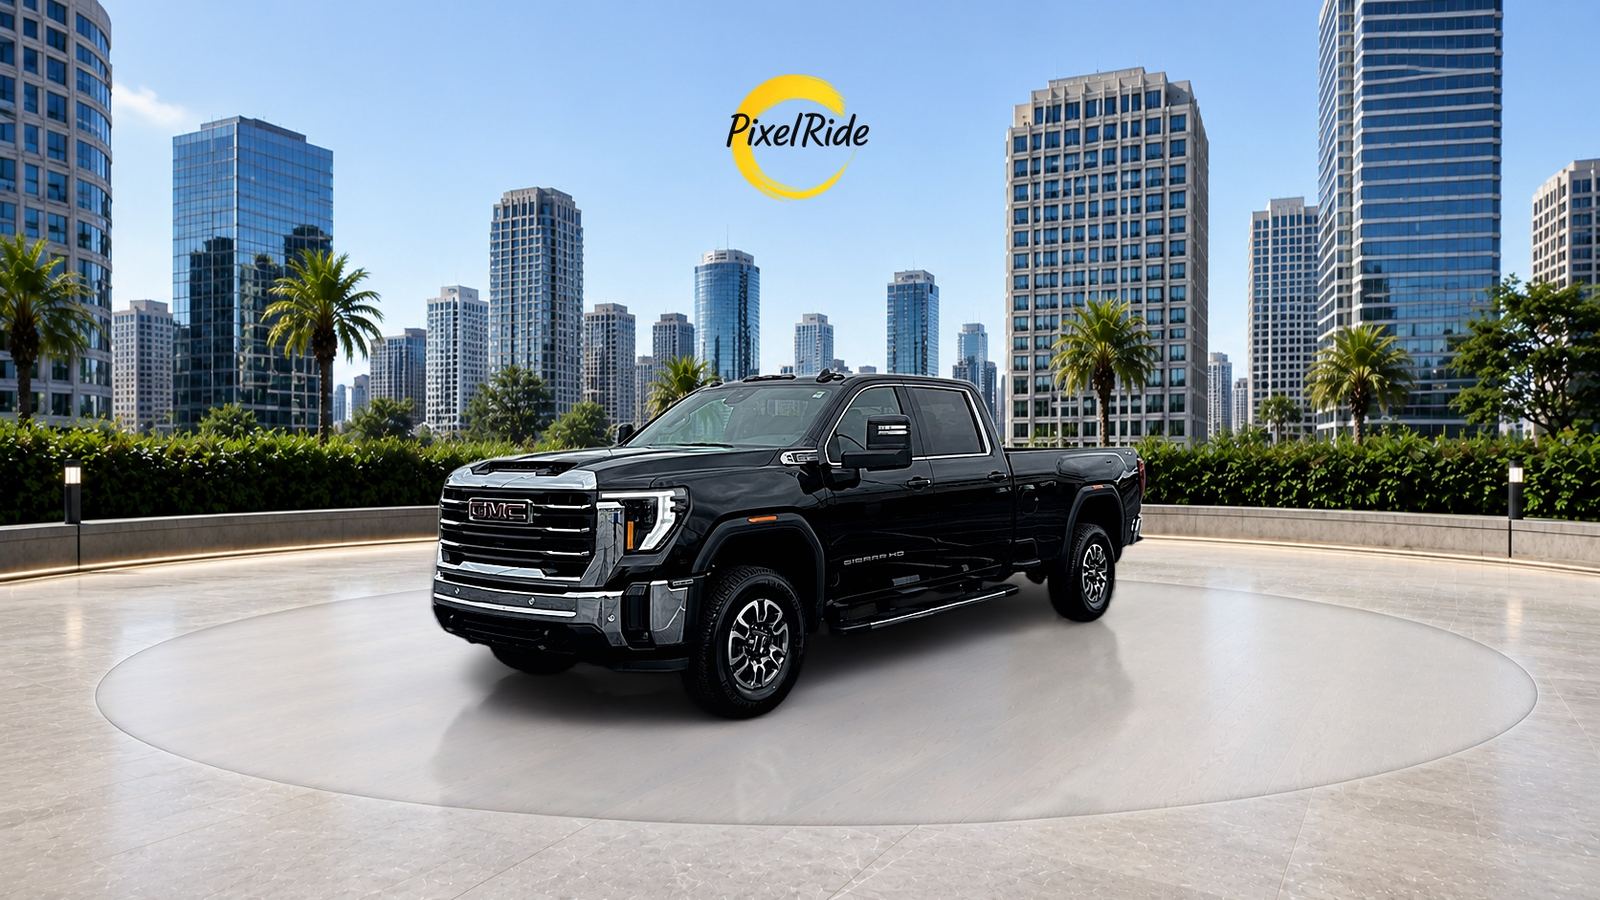
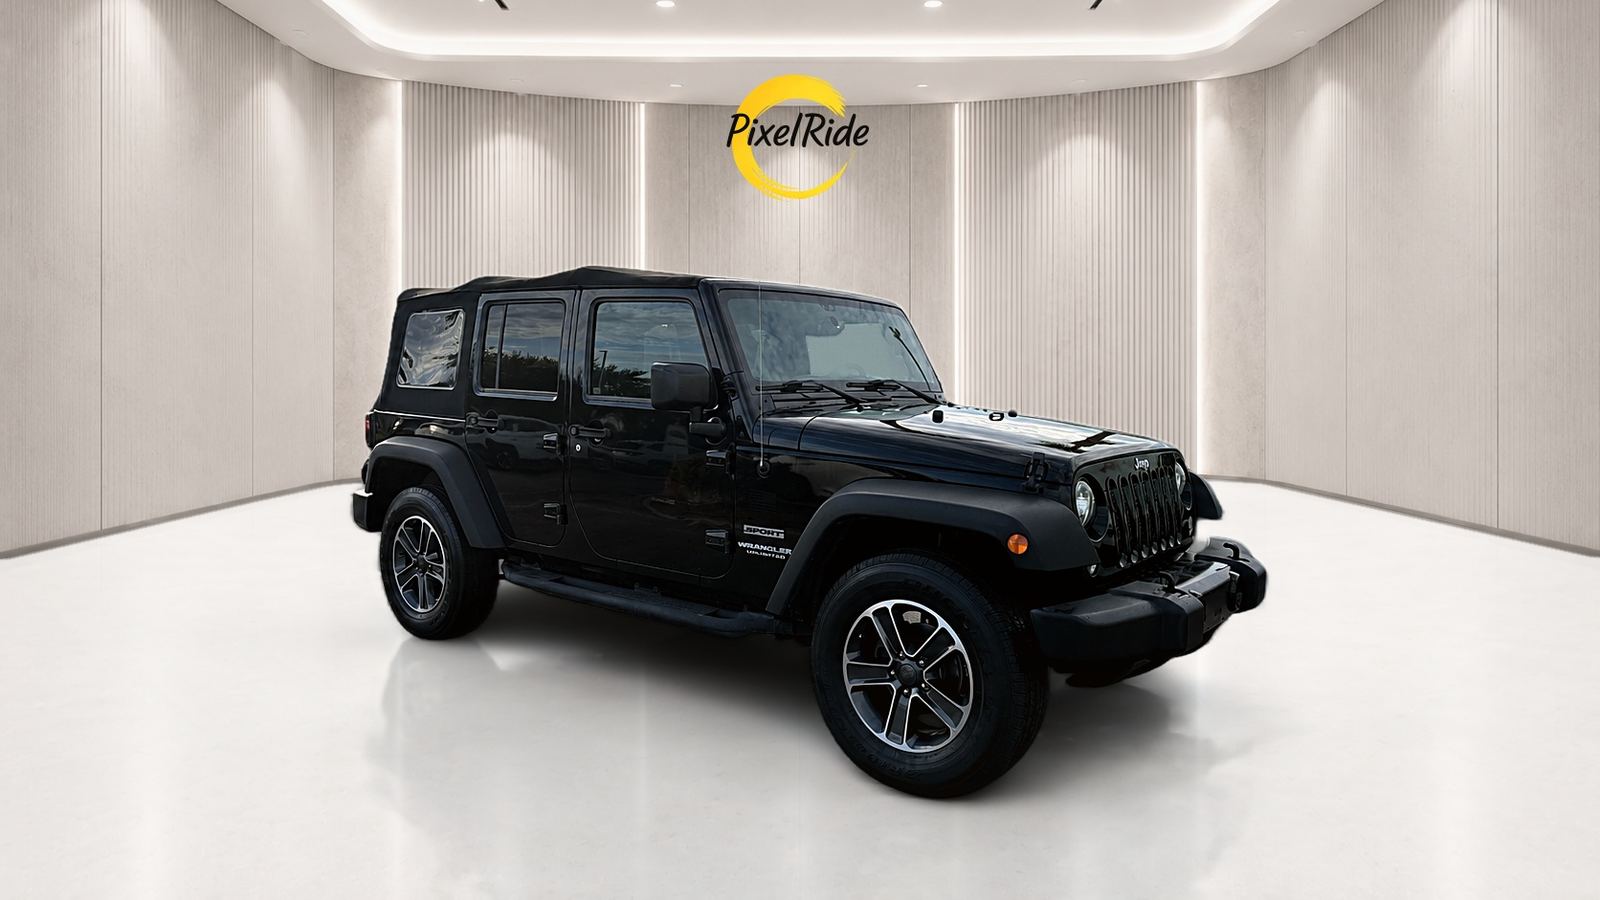
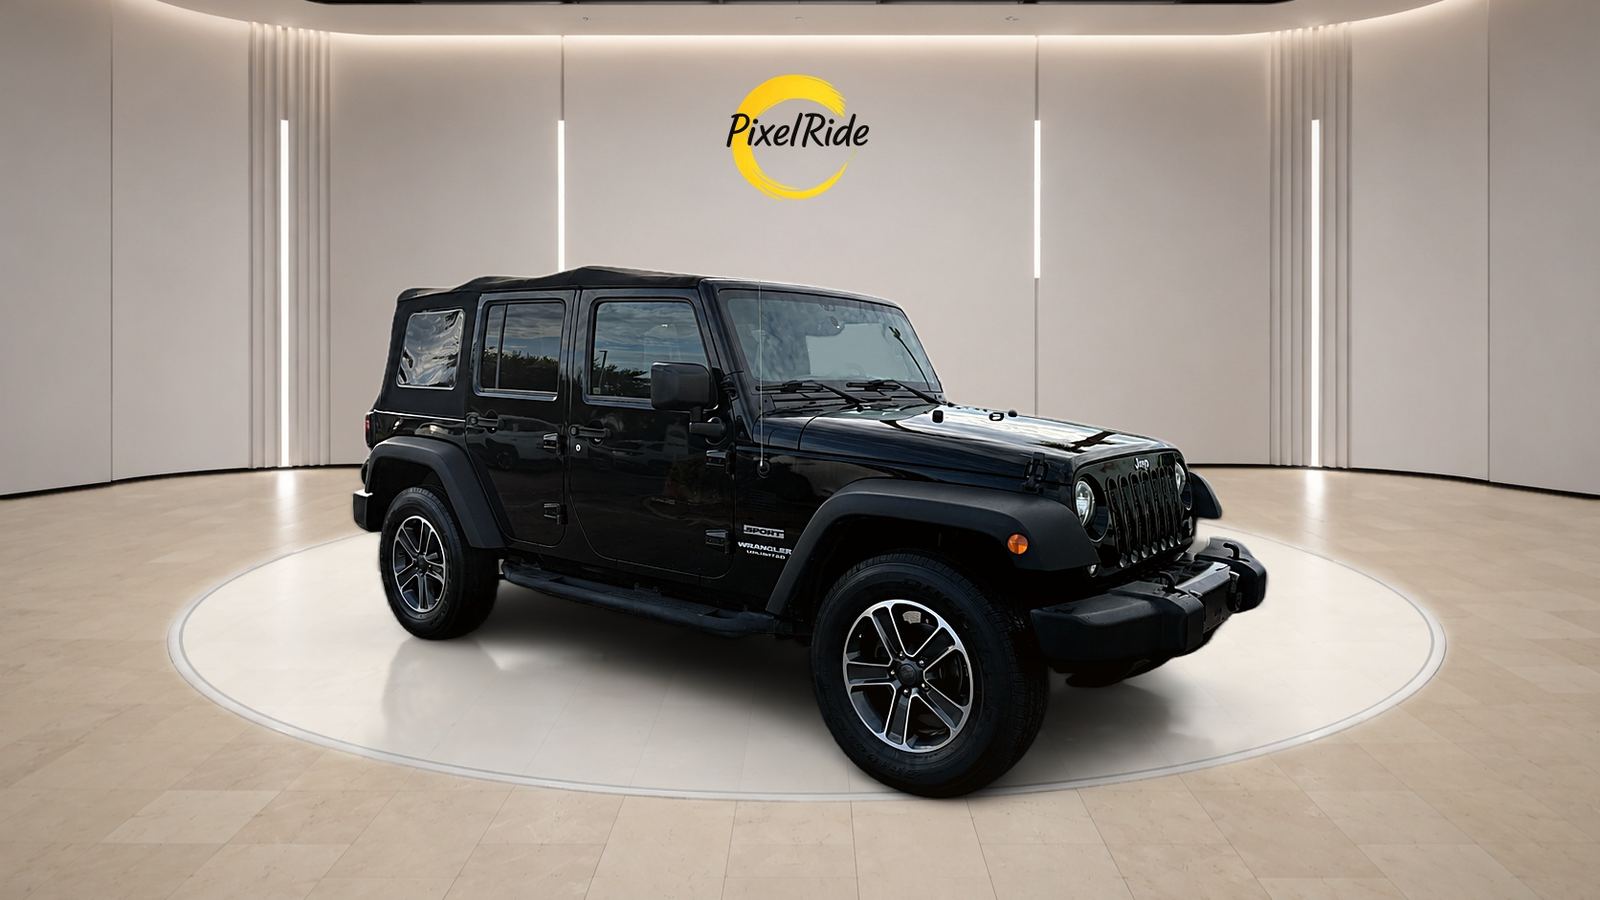
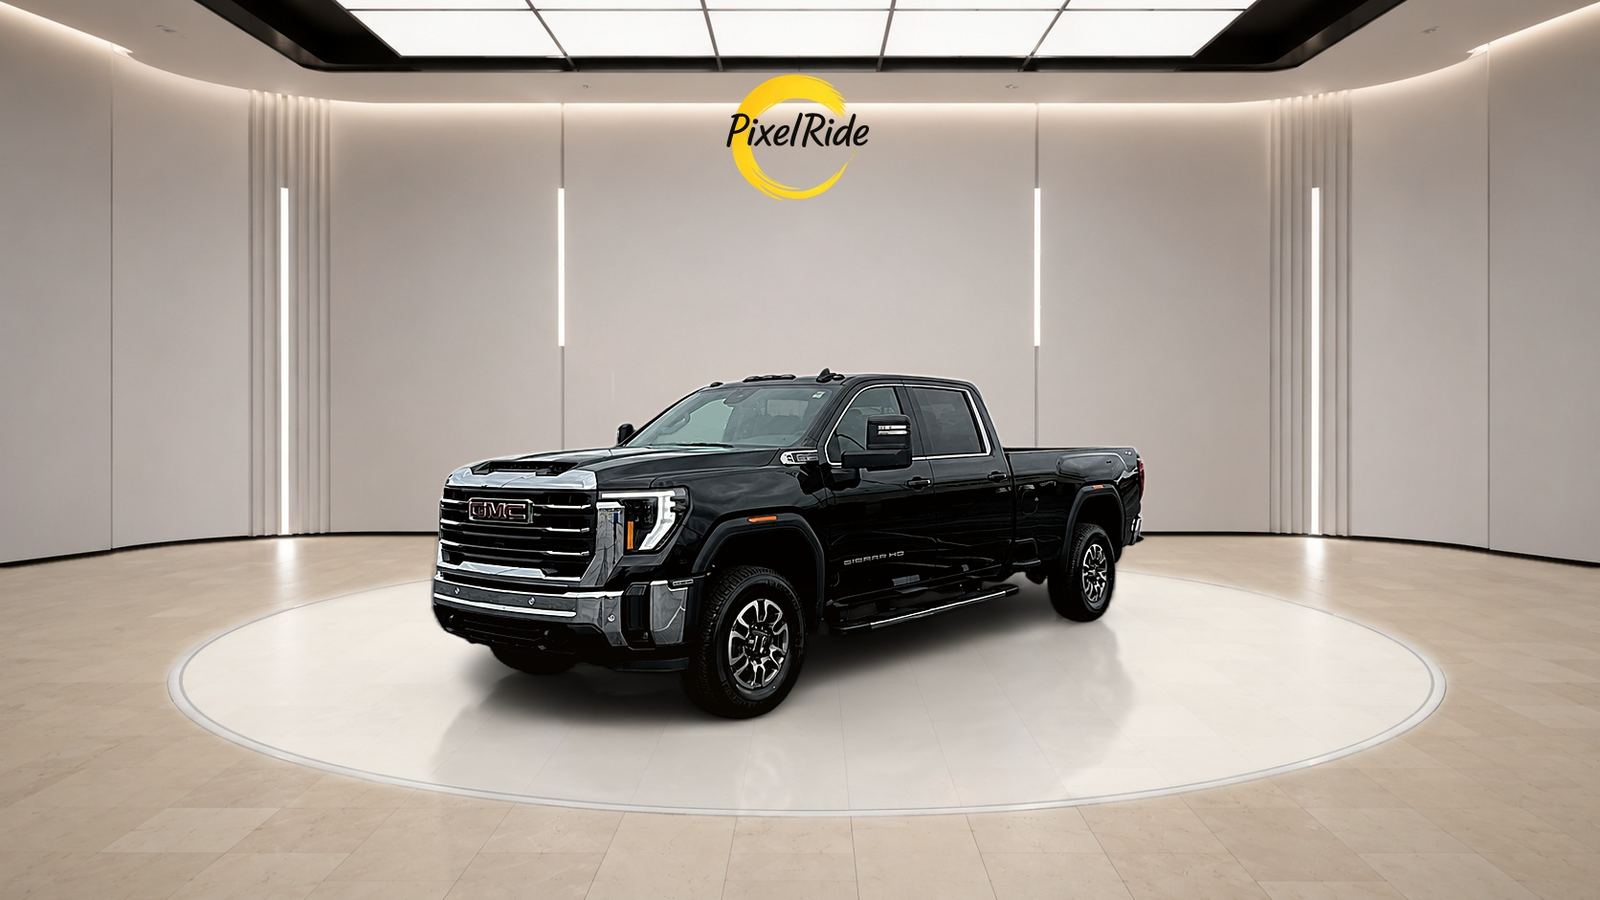
A logo can make your inventory recognizable when photos are shared or reused. Done badly, it distracts from the vehicle and makes every image look like an advertisement. The best watermark is easy to notice, but never competes with the car.
Before adding branding to marketplace images, check that platform's photo policy. Some sites limit logos, added text or watermarks. Your own website and social channels usually give you more freedom.
Start with the right logo file
A PNG or SVG with a transparent background usually looks best because it sits directly on the photo without a white box. Use the highest-quality version you have. A small logo copied from a website may look soft when placed on a large image.
If your logo is dark, test it on bright skies and pale walls. If it is light, test it on shadows and dark backgrounds. You may need a second version for different photos.
Where to place the logo
Choose a quiet area with little detail:
- Top corners work well because they often contain sky, wall or background.
- Bottom corners can work, but they may sit too close to the ground or be hidden by interface elements.
- The center should generally be avoided on listing photos because it covers the product.
Never place a logo over the vehicle identification number, damage, wheels, badges or any detail a buyer needs to see.
Keep it consistent
For a professional set, use a similar size and position on every photo. If one image has an object in that corner, move the logo just enough to keep it clear rather than forcing the exact same spot.
Opacity also matters. A slightly transparent mark can feel less intrusive, but it must stay legible. Check it at phone size, not only on a large desktop monitor.
How to add a logo to car photos
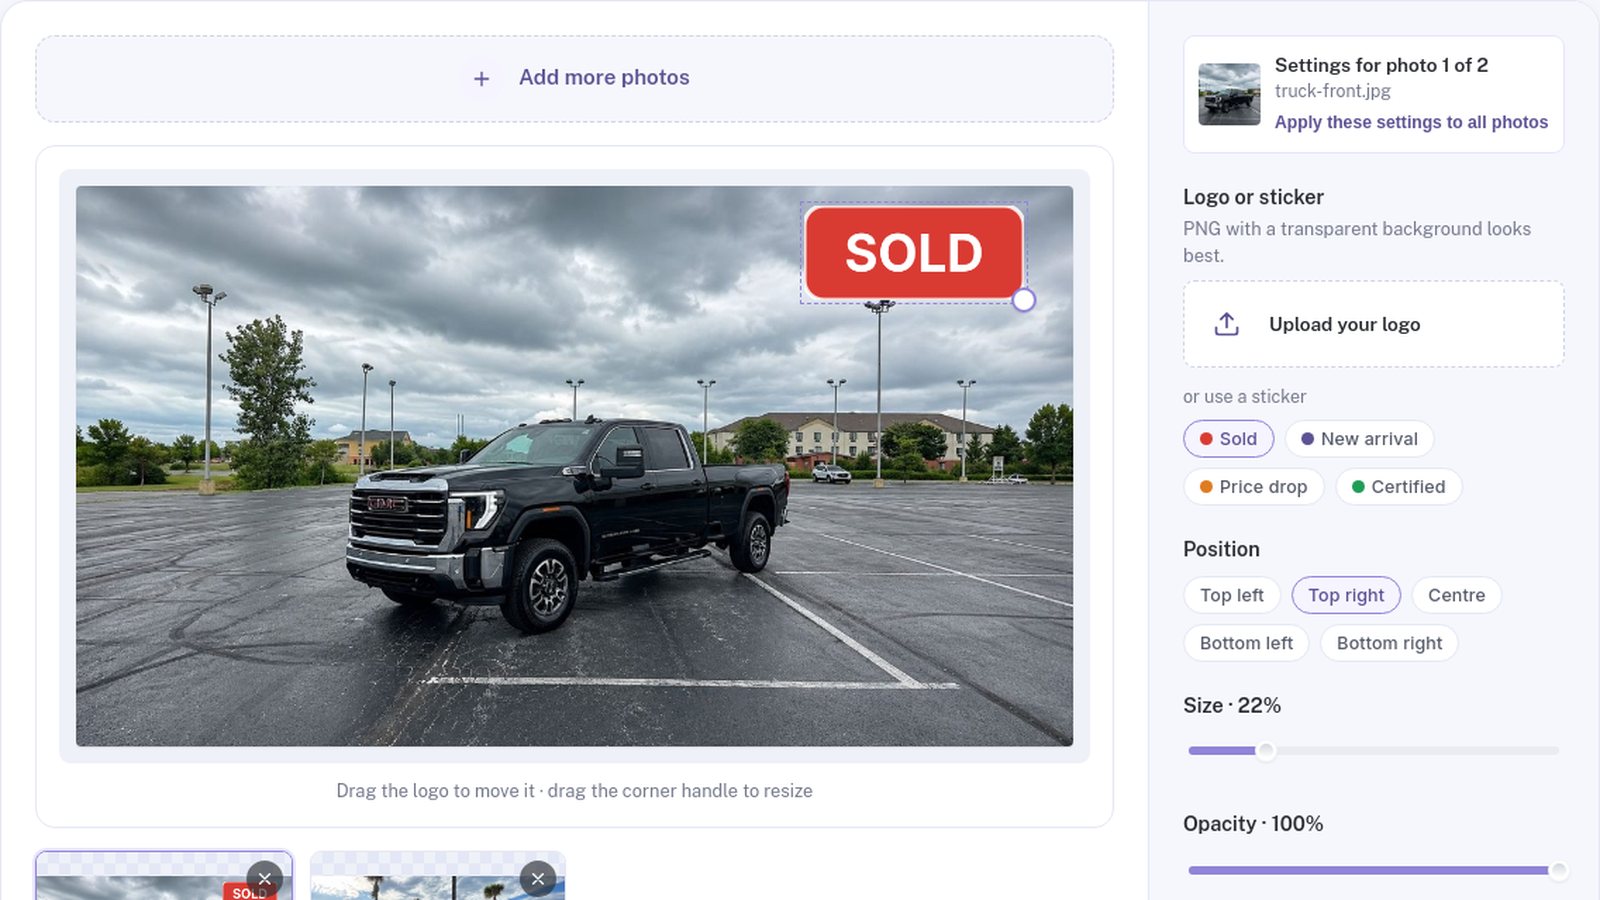
- Add your photos to PixelRide's free logo tool.
- Upload a logo, or choose a ready-made SOLD, NEW ARRIVAL, PRICE DROP or CERTIFIED sticker.
- Drag it into position.
- Resize it with the corner handle or size slider, and adjust the opacity.
- Use Apply these settings to all photos if the same placement works across the set.
- Download the finished photos.
Each photo remembers its own placement, so you can fine-tune a difficult shot without changing the rest. The photos and logo stay in your browser.
When to use stickers
Stickers work best for short-term messages. A SOLD label can be useful on a social post, while PRICE DROP or NEW ARRIVAL can make a promotion clear. Do not leave outdated stickers on active listings, and make sure every claim is accurate. If a vehicle is labeled CERTIFIED, it should meet the relevant certification requirements.
Common mistakes
Making the logo too large. The car should remain the first thing people notice.
Using a white logo box. Export a transparent version instead.
Covering important details. Branding should never hide condition or vehicle information.
Changing position on every photo. Random placement makes a gallery feel unfinished.
Once the logo is handled, the next improvement is a consistent setting. PixelRide's editor can apply branded studio backgrounds across your inventory.