How to Take Photos to Sell Your Car
Take car photos that help you sell faster, using only your phone. Learn how to prepare the car, choose the light and location, and which shots to take in what order.
PixelRide · Nov 19, 2026 · 4 min read
Buyers decide whether to message you from the photos alone. Clear, well-lit pictures make a car look cared for, answer questions before they are asked and help a listing stand out among similar cars.
You do not need a professional camera. A recent phone, a clean car and twenty minutes of planning are enough.
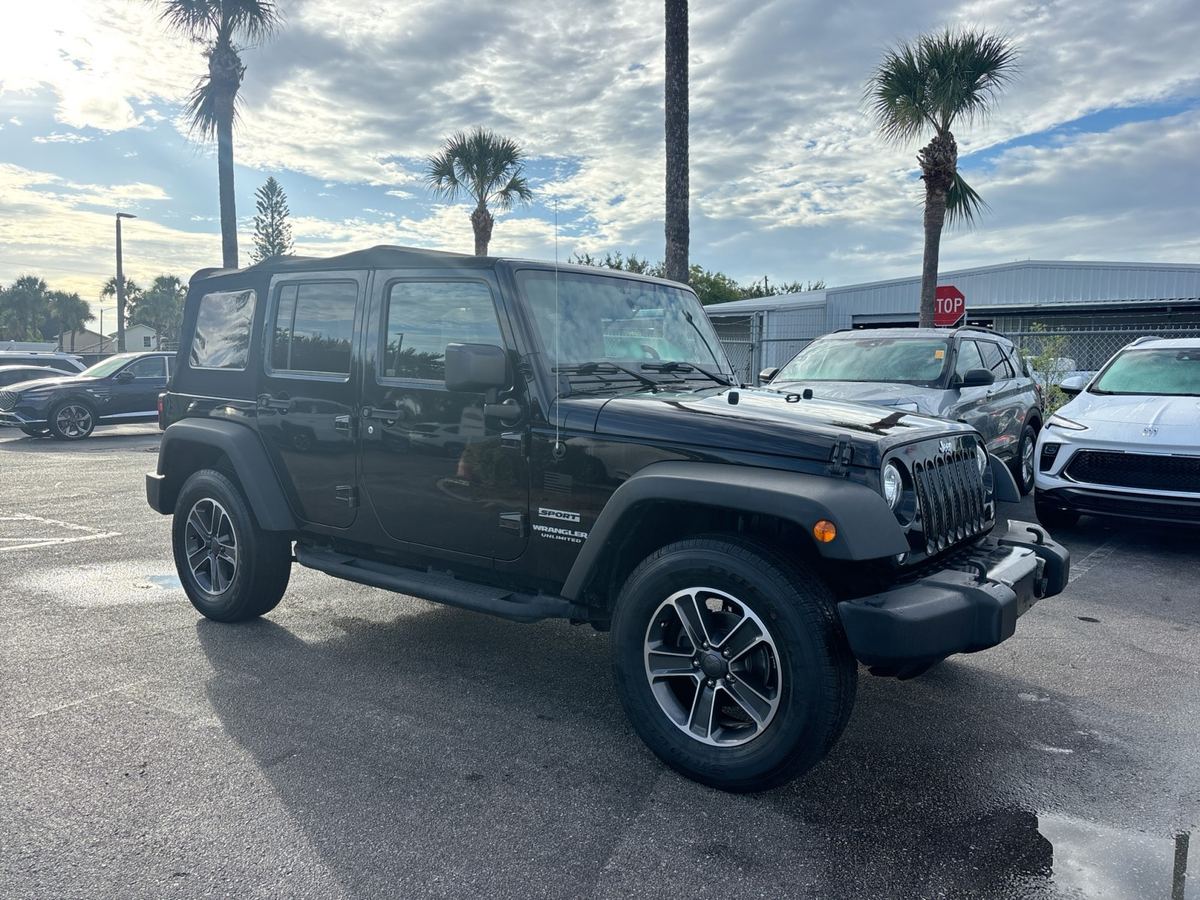
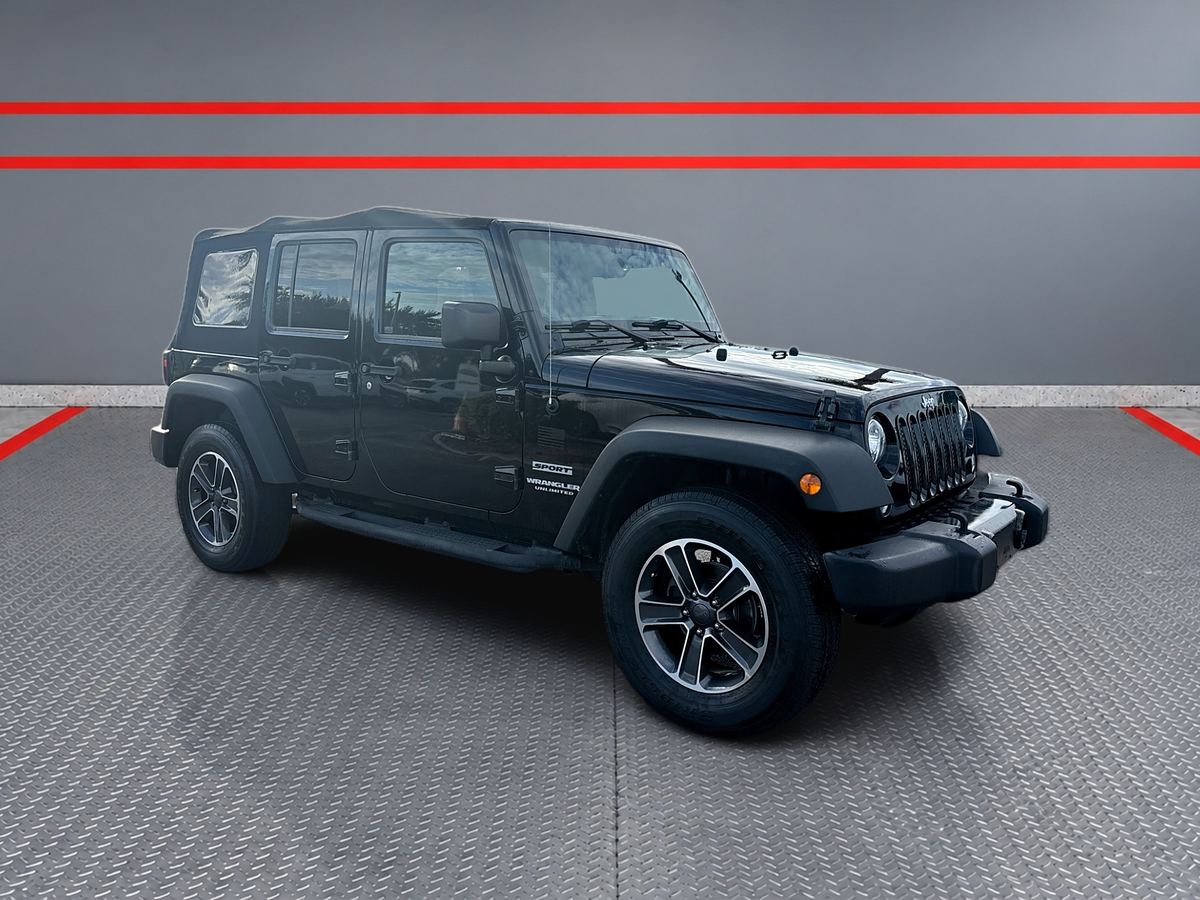
This is a typical first attempt: the car is sharp, but other cars, a wet car park and a bright sky compete for attention. The steps below fix most of that before you even press the shutter.
1. Prepare the car
Photos show everything, including dust and clutter you stop noticing when you drive the car every day.
- Wash and dry the outside, including the wheels and tyres. Water spots show up on dark paint.
- Clean the glass inside and out, so windows do not look cloudy.
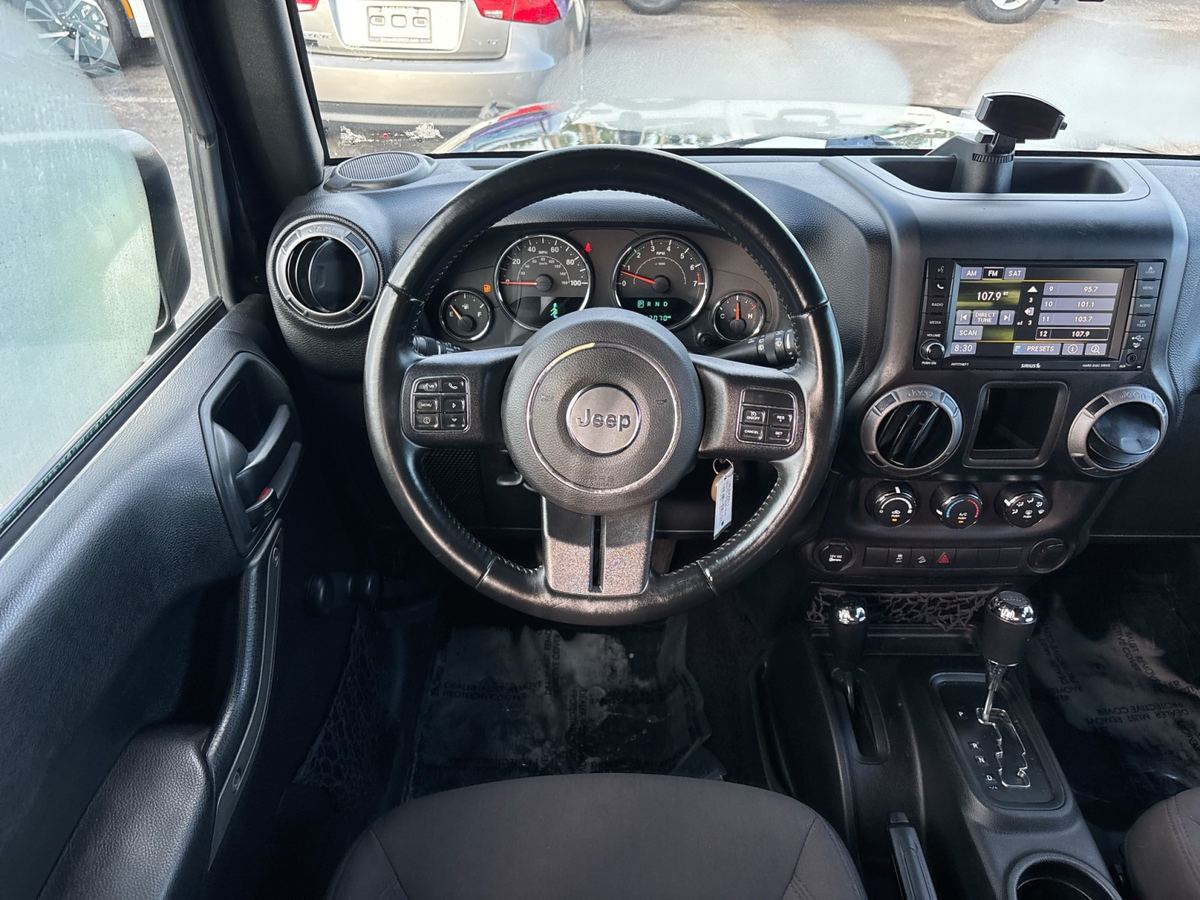
- Empty the interior. Remove phone mounts, chargers, bags, air fresheners and anything personal.
- Vacuum the seats and floor, and wipe the dashboard, screen and steering wheel.
- Straighten the front wheels, or turn them slightly so the face of the wheel points towards the camera.
2. Pick the light and the place
Light matters more than the camera. A bright overcast day is ideal because the light is even. Early morning and late afternoon also work well. Strong midday sun creates bright reflections on the paint and dark shadows under the car.
Choose a plain, open background. An empty car park, a quiet road or a clear wall gives the car room. Avoid other cars, bins, people and your house number behind it.
Leave space all around. You need to step back far enough to fit the whole car in the frame without using the wide-angle lens.
3. Set up your phone
- Wipe the lens. A fingerprint makes every photo look hazy.
- Hold the phone horizontally. Most listing sites show photos in landscape.
- Use the main 1x camera. The 0.5x lens distorts the shape of the car. Step back or use 2x instead.
- Shoot at about headlight height for exterior photos. Crouch slightly rather than standing over the car.
- Turn off filters and keep colours natural, so the photos match the car the buyer will see.
- Tap the car on screen to focus, and lower the brightness slightly if the paint looks washed out.
4. Take the shots in order
Working through a fixed list keeps you from missing anything. Take two or three of each shot and keep the sharpest.
Exterior
- Front three-quarter view: the front and one side together. This usually makes the best first photo.
- Straight front.
- Driver's side profile.
- Rear three-quarter view.
- Straight rear.
- Passenger's side profile.
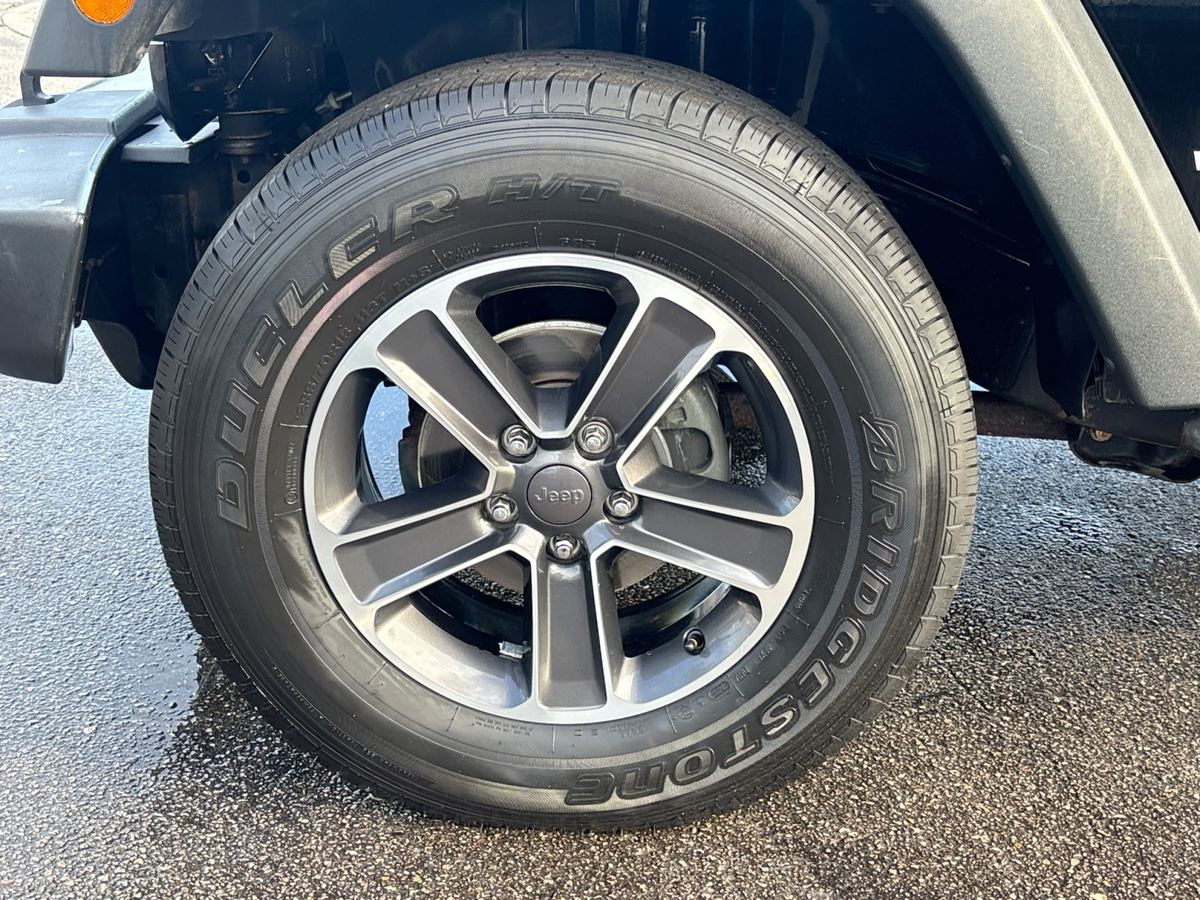
- Each wheel and tyre, close enough to see the tread.
Interior
- Dashboard and steering wheel from the open driver's door.
- Front seats.
- Rear seats.
- The boot or truck bed, empty.
- The odometer with the ignition on, showing the mileage clearly.
- The infotainment screen and any special features, such as a sunroof or upgraded audio.
Details and honest flaws
Photograph scratches, dents, chips and worn areas up close. It feels risky, but buyers trust a seller who shows problems up front, and it saves wasted viewings. Add photos of service records and spare keys if you have them.
5. Check and prepare the photos
Go through the photos on a larger screen before you upload them. Delete blurry shots, and check that no faces, house numbers or documents with personal details appear in the background.
A few quick fixes help the upload go smoothly:
iPhone photos will not upload? They may be HEIC files. Convert them with the free HEIC to JPG converter, or read how to fix HEIC photos that will not upload.
Files too large? Compress the photos to fit the site's limit without visibly losing detail.
Wrong shape? Different sites crop photos differently. See the best image size for car listings and the best aspect ratio for car photos.
Location data. Phone photos can contain the GPS position where they were taken, which may be your home. Remove location data before you post the originals anywhere.
6. Put the best photo first
The first photo is the one buyers see in search results. Use a sharp front three-quarter shot with a clean background, then follow with the rest in the same order you took them: outside, inside, details.
Make the background look professional
If the only place you could shoot was a busy street or a cluttered driveway, you can still make the car the focus. The PixelRide editor replaces the background with a clean scene while keeping the car exactly as it is, and can cover the number plate if you prefer.
The photo at the top of this guide is the same Wrangler from the car park photo above, after PixelRide replaced the background.
New accounts get free credits, so you can try it on your first photos before you list the car.