Car Dealership Photo Checklist
A practical photo checklist for car dealerships: how to prep each vehicle, set up a repeatable photo spot, which shots to take in what order, and what to check before the photos go live.
PixelRide · Nov 21, 2026 · 5 min read
Online shoppers compare dozens of cars before they contact a dealer, and the photos are most of what they compare. When one car on your site has twenty sharp, well-lit photos and the next has six shots on a busy lot, the whole inventory looks less trustworthy.
The fix is rarely better equipment. It is a checklist that anyone on the team can follow, so every car is prepared, photographed and uploaded the same way. Use the one below as a starting point and adapt it to your store.
1. Prepare the vehicle
Most photo problems are visible before the camera comes out. Work through this list when the car leaves reconditioning or arrives from the factory.
- Wash and dry the car, including wheels, tyres and door jambs. Dark paint shows water spots.
- Clean the glass inside and out.
- Remove temporary items: hang tags, stock numbers written on the windscreen, keys left on the seat, paperwork on the dashboard.
- Take out plastic seat covers and floor protectors. They look cheap in photos and hide the condition of the seats and carpets.
- Vacuum and wipe the interior: seats, floor mats, dashboard, screens and steering wheel.
- Charge the battery and add fuel, so the dashboard can be switched on without warning lights.
- Straighten the steering wheel and set the front seats and headrests to the same position.
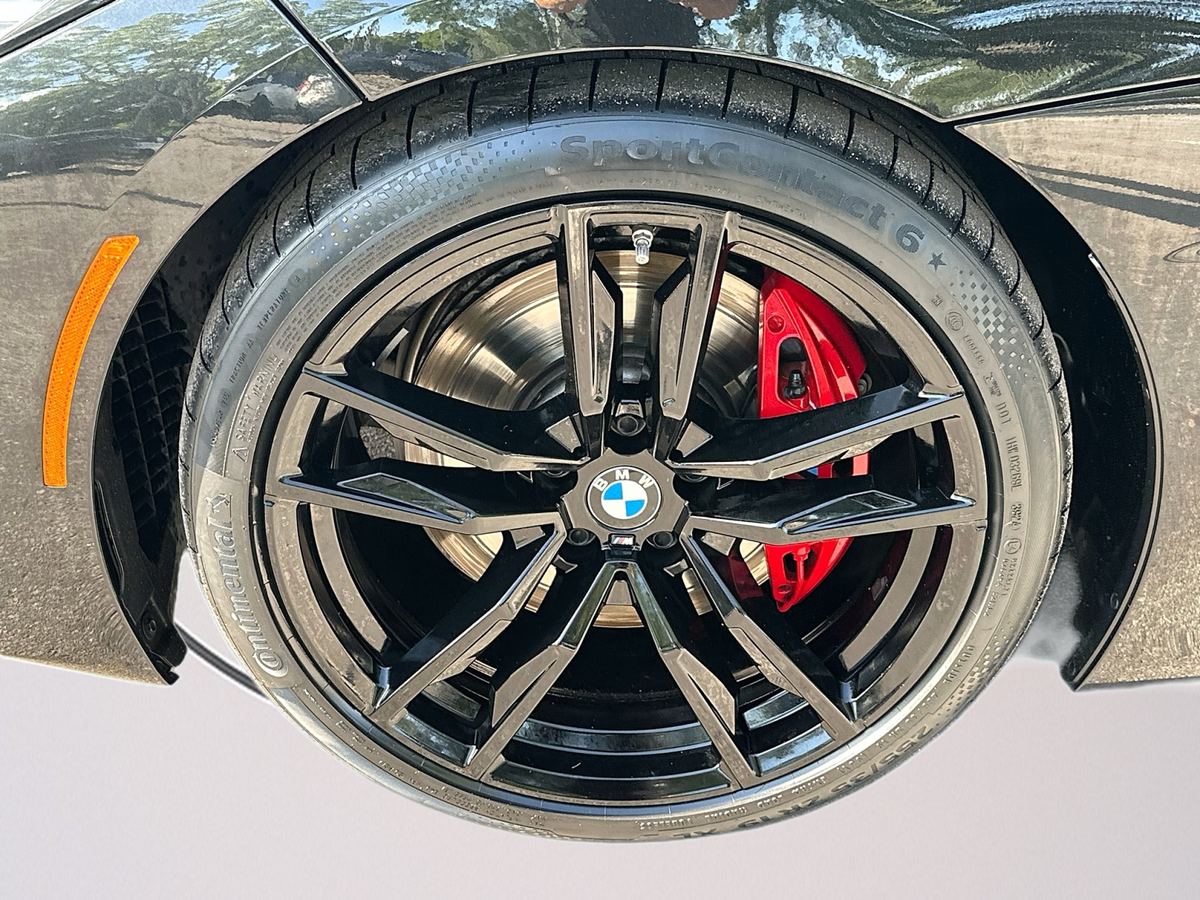
- Turn the wheel caps so the logo is upright, and dress the tyres if that is your store's standard.
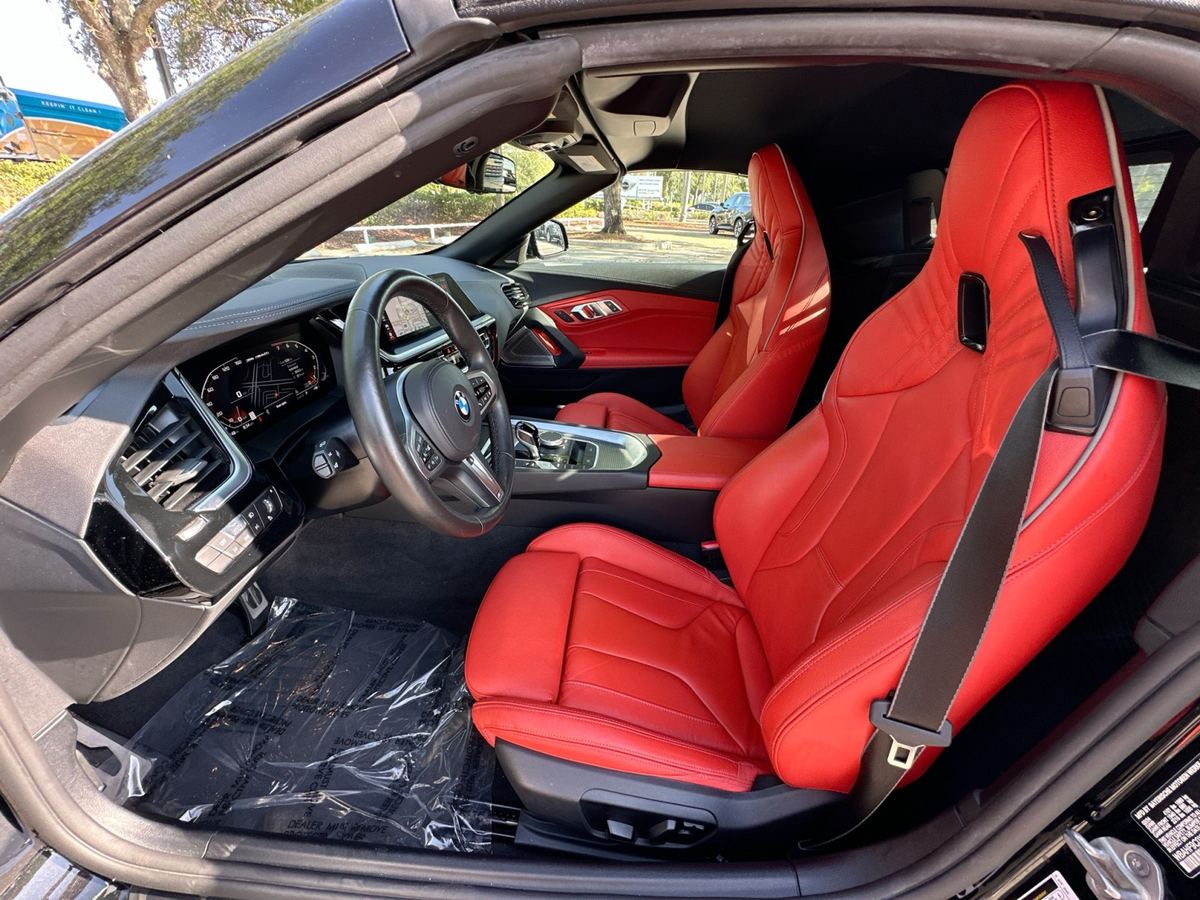
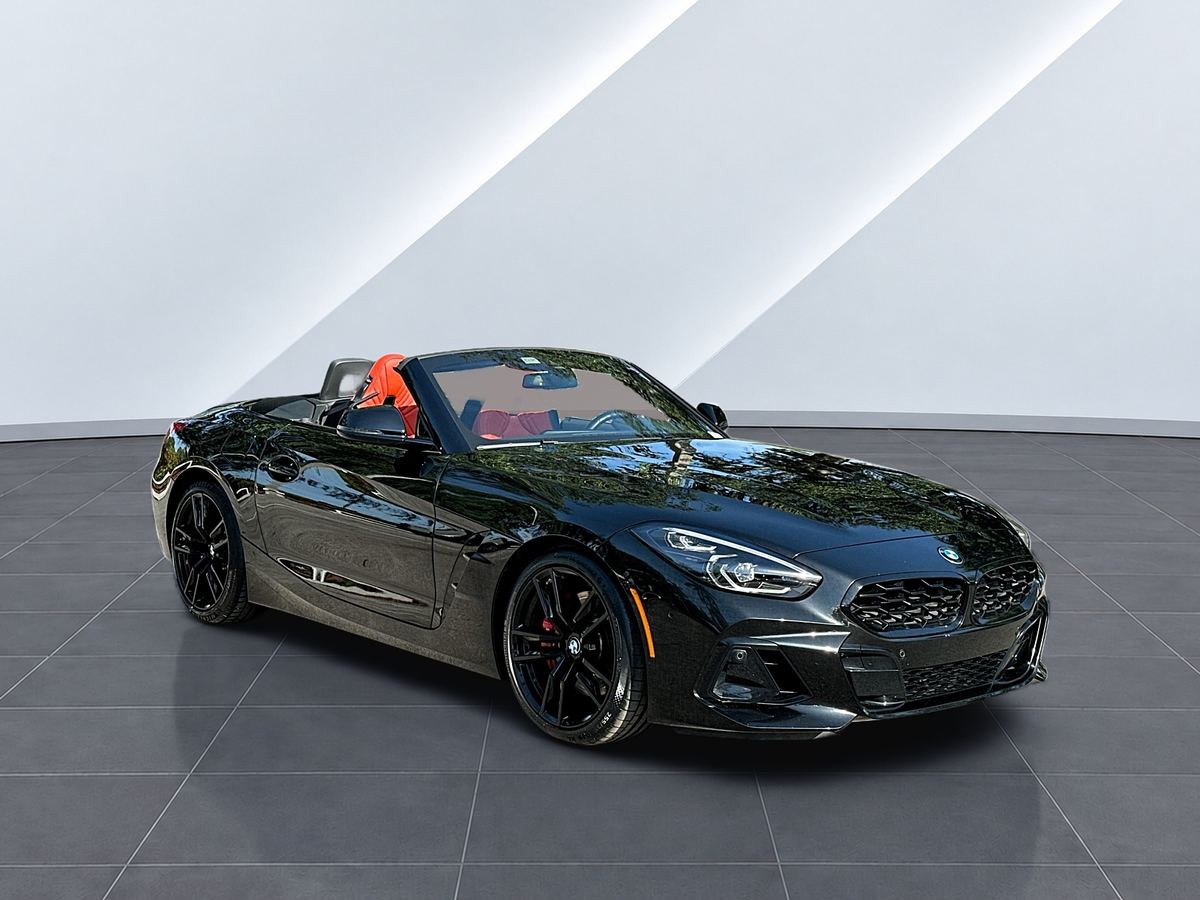
The plastic sheet on the floor of this Z4 is a typical miss. It takes ten seconds to remove before the shoot and cannot be fixed afterwards.
2. Set up a repeatable photo spot
Consistency comes from shooting every car in the same place, at the same distance, from the same height.
- Pick one spot with open space all around: a quiet corner of the lot, a clean wall, or a photo booth if you have one.
- Mark the ground with tape or paint: one mark where the front wheels stop, and marks where the photographer stands for each exterior angle.
- Choose a time window. Bright overcast days, early morning or late afternoon give even light. Avoid strong midday sun.
- Keep the background clear of other cars, customers, bins and service vehicles.
- Fix the camera settings: landscape orientation, the main lens rather than ultra-wide, camera at about headlight height for exterior shots.
- Clean the lens at the start of every session.
3. Follow the same shot list every time
A fixed order makes it obvious when a shot is missing, and it means every listing on your site reads the same way. Take two of each shot and keep the sharper one.
Exterior
- Front three-quarter, driver's side (this is usually photo one)
- Straight front
- Front three-quarter, passenger's side
- Passenger's side profile
- Rear three-quarter, passenger's side
- Straight rear
- Rear three-quarter, driver's side
- Driver's side profile
- Each wheel and tyre, close enough to read the tread
- Badges, lights and any exterior options such as a tow bar or roof rails
Interior
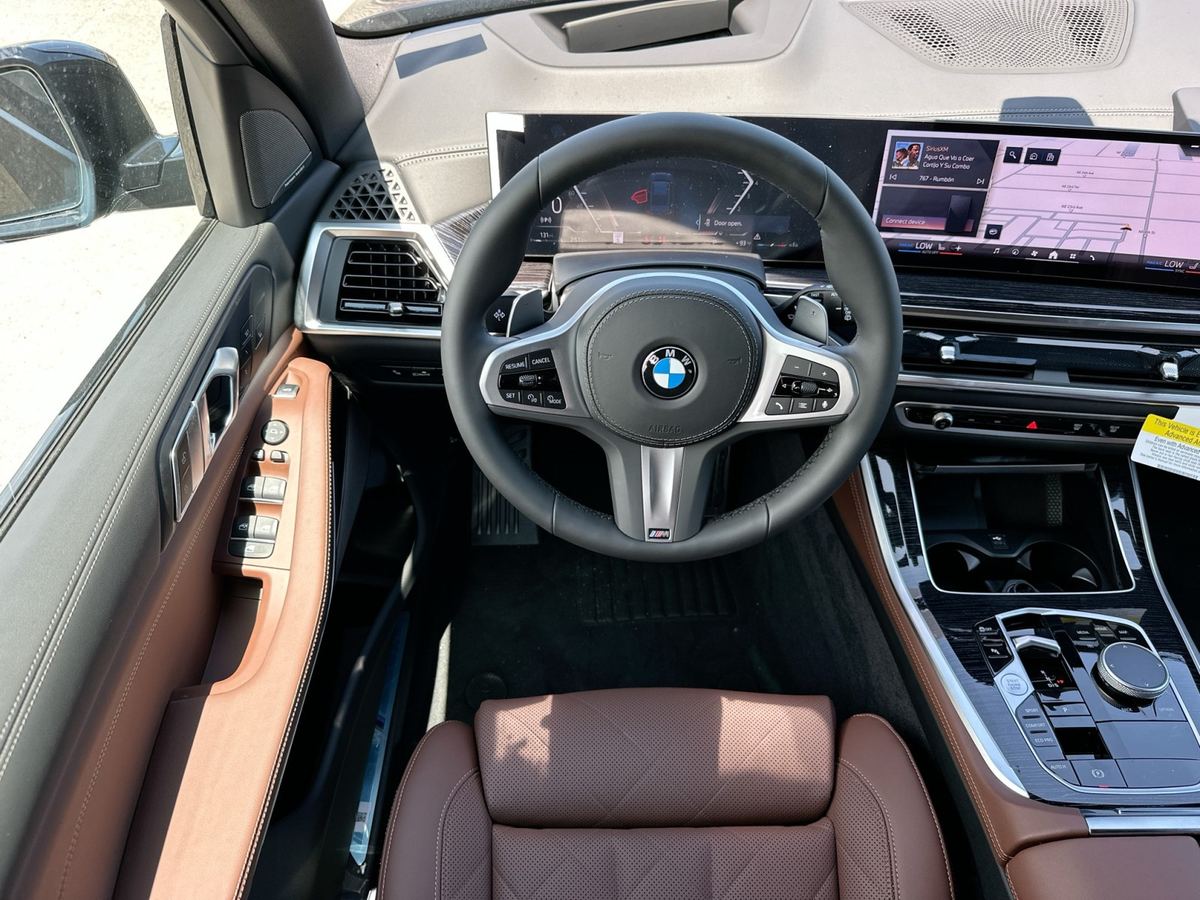
- Dashboard and steering wheel, from the open driver's door
- Dashboard from the back seat, centred
- Front seats
- Rear seats
- Odometer with the ignition on, mileage readable
- Infotainment screen, switched on
- Gear selector and centre console
- Boot or load area, empty
- Sunroof, upgraded audio, seat controls and other paid options
Used cars: condition and documents
- Close-ups of scratches, dents, chips and wear, with a wider shot showing where each one is
- Tyre tread on each corner
- Service book, spare keys and any inspection report
Showing flaws up front saves wasted appointments and builds trust with buyers who are comparing cars from home.
4. Check the set before you upload
- Delete blurry or duplicate shots. Look at them on a larger screen, not just the camera.
- Check every shot is there, in the order above.
- Look for people and personal details in reflections and backgrounds: faces, other customers' plates, documents.
- Make the first photo the front three-quarter shot.
- Name the files by stock number or VIN so they cannot be mixed up between cars.
- Check size and format for each marketplace. See the best image size for car listings and the best aspect ratio for car photos.
- Keep files within upload limits. The free image compressor shrinks a batch in the browser without visible loss.
5. Brand and publish
- Apply the same background to every exterior photo, so cars on your site line up in a grid.
- Add your logo in the same position on every image. Our guide on how to watermark car photos covers size and placement.
- Cover or blur number plates if that is your policy.
- Upload the same day. A car without photos gets little attention online, so the sooner the full set is live, the better.
Speed up the last two steps with PixelRide
Steps 4 and 5 are where most of the time goes when photos are edited by hand. The PixelRide editor handles the repeatable part: upload the whole set for a car, pick a showroom or studio background and apply it to every photo, with the car scaled and centred the same way each time. Your logo and number plate style are a single setting, and interior photos get a clean view through the windows instead of a busy lot.
That keeps the look identical across every car and every rooftop, whoever took the photos. If you want the details, read about car background removal for dealerships or the automotive photo editing workflow we recommend to photographers.
New accounts get 25 free images, enough to run a full car through and compare it with your current photos.